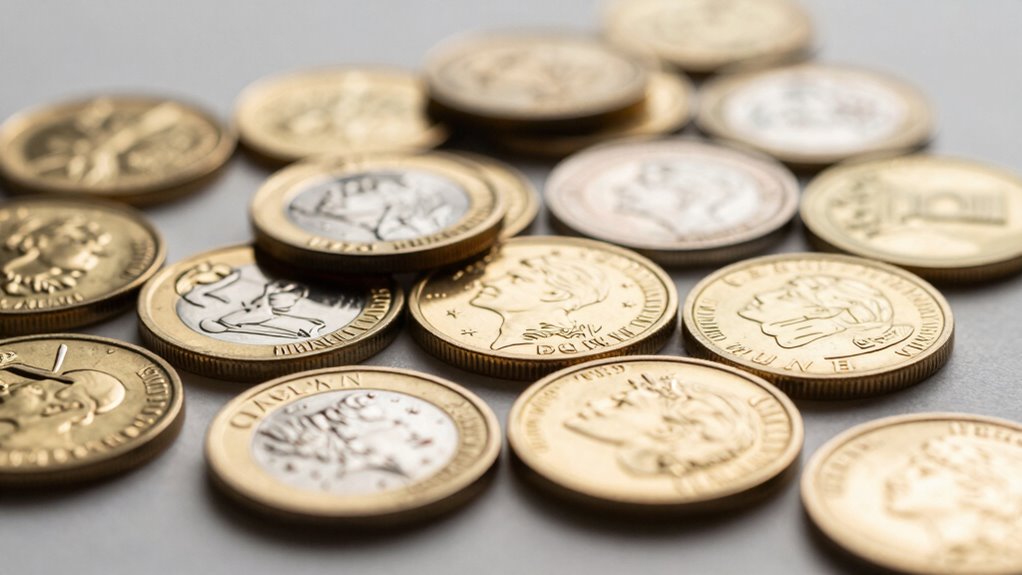

To photograph coins and bullion for insurance, use even, diffuse lighting to reduce glare and highlight surface details. Keep your camera steady, focus clearly, and capture multiple angles, including obverse, reverse, and close-ups of unique features like markings, wear, or damage. Include measurements like diameter and weight, and save high-resolution images in secure formats. Consistent setups and digital backups are essential. If you want to master the details, there’s more to guarantee your documentation is thorough.

Get home office essentials delivered free with Prime
- Fast, free delivery on millions of items
- Prime Video, Amazon Music and more included
- Member-only deals all year
Key Takeaways
- Use diffuse lighting and a lightbox to minimize glare and accurately capture surface details.
- Take multiple angles, including obverse, reverse, and close-ups of flaws or unique features.
- Ensure images are high resolution, well-focused, and include measurements like diameter and weight.
- Maintain consistent positioning and lighting for all items for uniform documentation.
- Save images in secure, high-quality formats and create backups in multiple locations.
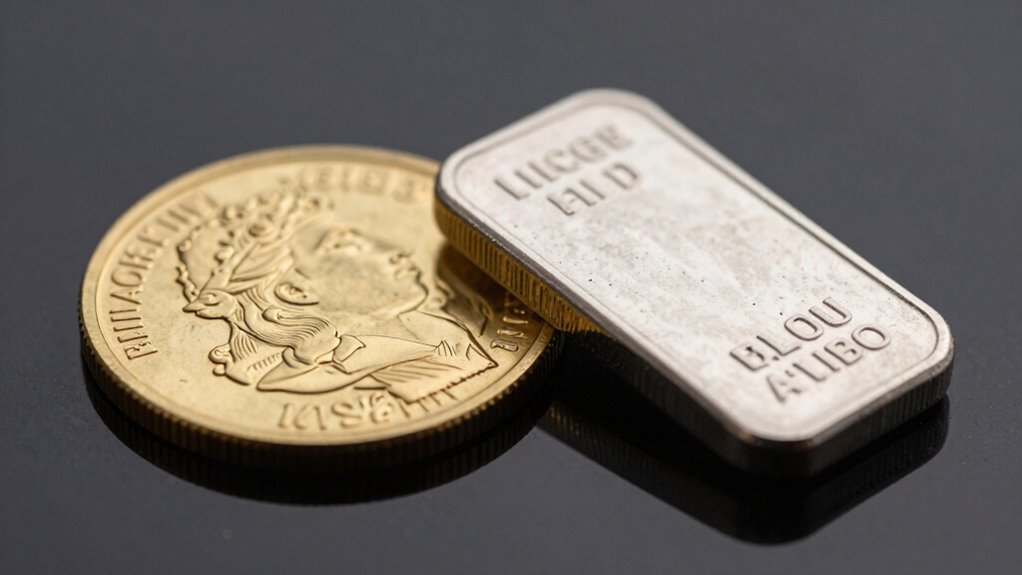
Photographing coins and bullion requires attention to detail and the right technique to capture their true beauty. When you’re documenting your collection for insurance purposes, clear and accurate images are essential. These photos serve as proof of ownership, help in identifying your items, and support any claims or appraisals. To guarantee your images are useful, you need to focus on capturing the unique features of each coin or bullion piece, including any markings, wear, or damage.
Capturing detailed, accurate images of coins and bullion is essential for proof of ownership and insurance claims.
One of the first steps is to understand the historical value of your coins, as this can influence the way you photograph them. Older coins often have intricate details, and their value can be affected by signs of wear or corrosion. For these reasons, it’s imperative to use proper grading techniques during photography. Grading techniques involve capturing images that highlight the coin’s surface, luster, and any imperfections. Proper lighting is essential—use diffuse light sources to avoid glare and reflections that can obscure details. A lightbox or a softly lit tabletop setup works well. Position the coin flat and centered, ensuring it’s stable to prevent blurring. Use a macro lens if possible, as it allows you to focus closely on the coin’s surface, revealing fine details like mint marks, date, and surface quality.
Consistency is key when photographing multiple items, especially for insurance records. Take each shot from the same angle and distance to create a uniform portfolio. Include several images: a close-up of the obverse and reverse sides, a wider shot showing the overall condition, and additional photos that highlight any distinguishing features or flaws. When you review your images, compare them to official grading standards to verify you’ve captured all necessary details. Good documentation includes capturing the coin’s diameter, weight, and any serial or certification numbers, if applicable. Additionally, accurate representation is vital, so adjusting your camera settings to reproduce the true color and sheen of the coins can help ensure authenticity in your records. Paying attention to proper lighting techniques can greatly enhance the quality of your photographs by reducing glare and enhancing surface details. Furthermore, using consistent angles during photography can help in creating a comprehensive and professional-looking collection record. Incorporating standardized procedures for capturing images can also improve consistency across your collection.
Finally, guarantee your images are high resolution, well-focused, and properly lit. Save them in a secure digital format, such as JPEG or TIFF, and keep backups in multiple locations. These steps help you create a thorough visual record of your collection, making insurance claims smoother and more accurate. By paying attention to the historical value and applying proper grading techniques through your photography, you can confidently protect and verify your coins and bullion for years to come.
As an affiliate, we earn on qualifying purchases.
Frequently Asked Questions
What Equipment Is Best for Close-Up Coin Photography?
You should use a macro lens or a camera with macro capabilities for close-up coin photography. Set your camera to a small aperture (like f/11 or higher) to guarantee sharp details, and adjust the ISO to a low setting for clarity. Use diffused lighting techniques, such as a lightbox or softbox, to minimize reflections and shadows. Proper lighting and camera settings highlight intricate coin details essential for accurate insurance records.
How Do I Prevent Reflections on Shiny Surfaces?
To prevent reflections on shiny surfaces, focus on focusing your camera carefully and controlling lighting. Use matte finishes or apply anti-reflective coatings to reduce glare, making details clearer. Position your light sources at angles rather than directly overhead to minimize reflections. Soft, diffused lighting works best, and shooting in an environment with controlled, indirect light helps keep surfaces from shining or shimmering, ensuring your photos are flawless and professional.
Should I Photograph Coins With or Without Protective Cases?
You should photograph coins with their protective casing on, especially if they’re in a coin display. This helps prevent damage and keeps the coin secure during the shoot. If you remove the casing, make sure your hands are clean and steady to avoid fingerprints or scratches. Using a protective casing in your photos also provides context for size and condition, making your insurance records more accurate and thorough.
How Do I Handle Photographing Damaged or Heavily Worn Coins?
Don’t beat a dead horse—focus on capturing what’s visible. For damaged or heavily worn coins, use gentle lighting adjustments to highlight details without further damage. Avoid cleaning techniques that might alter the coin’s surface; instead, photograph from multiple angles to show wear and tear clearly. Proper lighting and careful positioning help document imperfections accurately, making your insurance records reliable without risking more damage.
What File Format Is Best for Insurance Documentation?
You should save your coin photos in a high-quality file format like TIFF or JPEG for insurance documentation. TIFF offers lossless quality, ideal for detailed records, while JPEG is more widely compatible and smaller in size. Use good lighting techniques to capture sharp images, and leverage editing software to enhance clarity and details. This guarantees your records are clear, detailed, and easily accessible for insurance purposes.
As an affiliate, we earn on qualifying purchases.
Conclusion
By thoroughly photographing your coins and bullion, you create an essential record that can simplify claims if theft or loss occurs. Imagine losing a rare coin—your detailed images and receipts make it easier for authorities and insurers to verify your ownership. Take the time now to document every detail, so you’re prepared and protected later. Proper records not only safeguard your investment but also give you peace of mind, knowing you’re covered no matter what happens.
As an affiliate, we earn on qualifying purchases.
high resolution camera for collectibles
As an affiliate, we earn on qualifying purchases.
As an affiliate, we earn on qualifying purchases.
Columbus Day / Indigenous Peoples' Day Picks
long weekend sales
As an affiliate, we earn on qualifying purchases.