
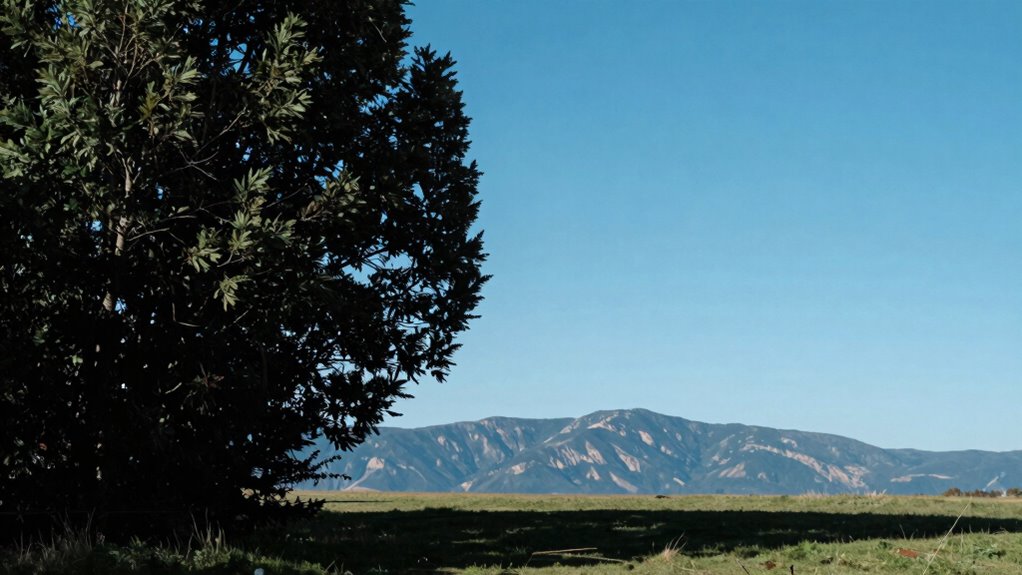
Blind spots can sneak into your camera setup, making you overlook critical details and ruining an otherwise good shot. They often happen because of lens distortion, poor positioning, or equipment calibration issues. To avoid this, you need to test your setup from multiple angles and use proper lighting. Recognizing and minimizing blind spots early saves you time and improves your footage. If you keep these tips in mind, you’ll discover how to spot and fix blind spots before they cause trouble.
Key Takeaways
- Blind spots often result from lens distortion, improper camera angles, or equipment miscalibration, causing critical areas to be missed.
- Poor subject positioning and inadequate lighting can hide blind spots, compromising overall scene coverage.
- Overlooking sensor limitations and field of view can lead to important details being cut off or blurry.
- Inconsistent camera placement and insufficient overlap create gaps that allow blind spots to persist.
- Regular testing, visualization, and adjustments are essential to identify and eliminate blind spots before recording.

12×9 Float Glass Substrate Visual Optics Correction Board Checkerboard Target Plate Diffuse Reflection Opacity Square Array (Size : 25x25mm)
High precision processing technology, low thermal expansion coefficient, high precision (±0.01mm).
As an affiliate, we earn on qualifying purchases.
As an affiliate, we earn on qualifying purchases.
Why Blind Spots Ruin Your Photos: And How to Spot Them Early
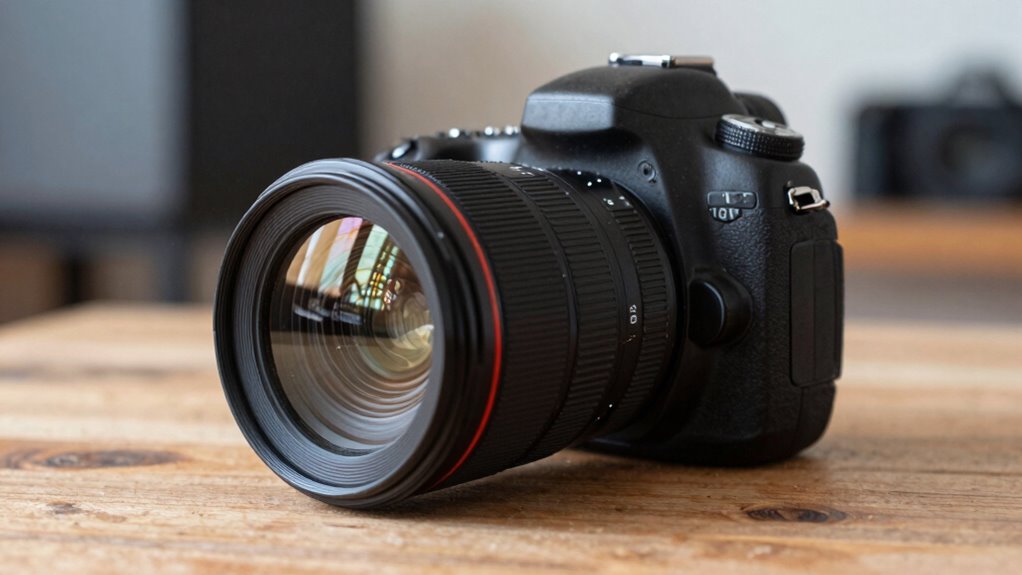
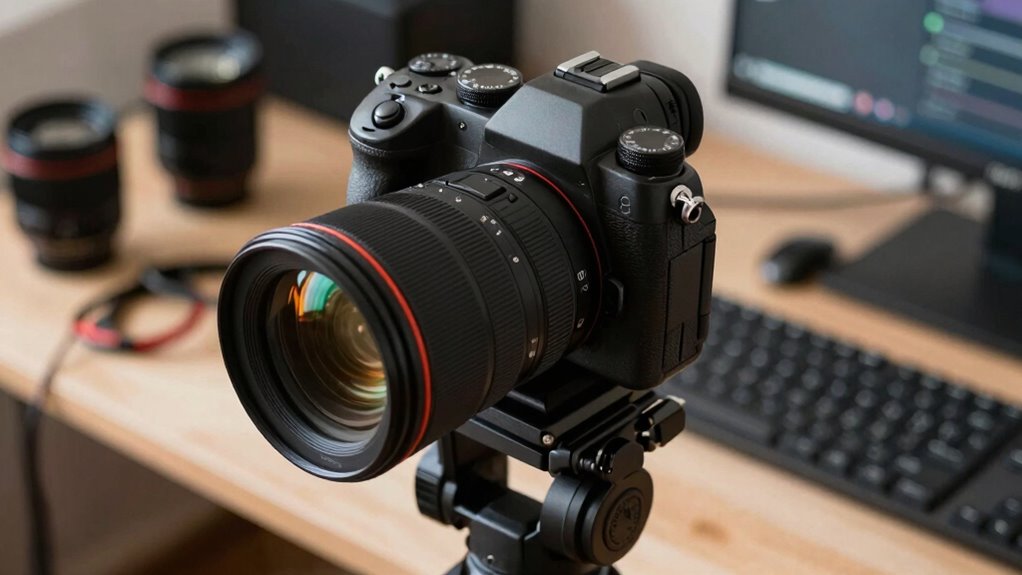
Blind spots in your camera setup can silently ruin your photos by leaving important details hidden or poorly framed. These issues often stem from the camera sensor’s limitations or lens distortion. When your sensor isn’t capturing the entire scene, vital elements get cut off or appear blurry, creating blind spots. Similarly, lens distortion can warp images, making parts of your shot appear stretched or squished, which leads to overlooked areas. Spotting these problems early helps you adjust your setup—checking for sensor coverage and understanding lens behavior. Regularly reviewing your shots for unexpected gaps or distortions can prevent blind spots from sneaking into your images. By staying attentive to how your camera sensor and lens interact, you guarantee your photos stay sharp, complete, and well-framed. Recognizing sensor limitations and their impact on image composition is essential for achieving high-quality results. Additionally, understanding how lens distortion affects different focal lengths can help you make better choices about your equipment and positioning.

DSLRKIT Lens Focus Calibration Tool Alignment Ruler Folding Card(Pack of 2)
This compact ruler allows you to determine if your lens is auto-focusing accurately as it should. It is…
As an affiliate, we earn on qualifying purchases.
As an affiliate, we earn on qualifying purchases.
Common Causes of Blind Spots in Photography Setups
Understanding the common causes of blind spots in your photography setup is essential for capturing complete, well-framed images. One major cause is lens distortion, which can warp edges or create areas where the camera’s view is compromised. This distortion can cause parts of your subject to fall outside the frame or appear distorted, leading to blind spots. Utilizing landscaping to guide the viewer’s eye can help mitigate some of these issues by naturally framing your subject and directing attention. Another cause is poor subject positioning; if you don’t carefully plan where your subject sits within the frame, you risk leaving important details out. Additionally, camera angles and positioning can create hidden areas, especially if you’re shooting from awkward perspectives. Being aware of how your lens behaves and thoughtfully placing your subject helps prevent blind spots and guarantees your photos capture everything you intend. Proper camera setup and understanding lens characteristics are crucial in avoiding these issues. Moreover, understanding the contrast ratio of your equipment can assist in optimizing image clarity and detail, especially in challenging lighting conditions. Paying attention to lens distortion and how it interacts with your scene can significantly improve your composition and avoid missing key details. Integrating knowledge of client needs and project requirements can further enhance the effectiveness of your photography composition.
camera field of view tester
As an affiliate, we earn on qualifying purchases.
As an affiliate, we earn on qualifying purchases.
How to Detect Blind Spots Before You Shoot

To spot blind spots before shooting, you need to identify overlooked areas that might get missed. Using proper lighting techniques can reveal shadows and dark spots that hide potential issues. Testing from multiple angles guarantees you catch any blind spots that could affect your shot’s overall composition. Incorporating visualization techniques can further help in identifying areas that may be overlooked during the setup process. Additionally, understanding camera placement can help you anticipate and minimize blind spots in your setup. Recognizing camera angles can also be crucial in ensuring comprehensive coverage of your subject.
Identify Overlooked Areas
Before you start shooting, it’s essential to identify potential blind spots in your camera setup. Start by checking sensor calibration to guarantee accurate image capture, as misaligned sensors can cause overlooked areas. Next, examine lens distortion, which can warp edges and create hidden zones outside your frame. Consider the field of view carefully—wide-angle lenses often introduce blind spots at the edges. Also, review your camera angles and positions: are there spots your lens can’t reach? Finally, test for overlooked areas by taking test shots and analyzing them for inconsistencies. Remember, a thorough check helps prevent missing critical details. Being proactive about sensor calibration and lens distortion reduces the risk of blind spots that could compromise your shot’s quality. Media literacy can also help you interpret and evaluate your images more critically, ensuring nothing gets overlooked.
Use Proper Lighting Techniques
Proper lighting is essential for revealing blind spots that might go unnoticed in your camera setup. Natural light helps you see how shadows and highlights fall, exposing areas that might be overlooked. Use it to identify inconsistencies or hidden corners that could be missed under artificial lighting. Artificial lighting, on the other hand, allows you to control intensity and direction, helping you pinpoint blind spots from different angles. When setting up, test your scene with both natural and artificial light sources to observe how each reveals different parts of the environment. Adjust your lights to eliminate harsh shadows or overly bright spots, ensuring even coverage. Proper lighting techniques help you see potential blind spots clearly before you press record, avoiding surprises during the shoot.
Test From Multiple Angles
Testing your camera setup from multiple angles is essential for detecting blind spots that might not be visible from a single vantage point. This approach guarantees you consider factors like color harmony and subject positioning, preventing overlooked areas. When you test from different perspectives, focus on these key points:
- Identify areas with poor color harmony that may clash or fade from certain angles.
- Adjust subject positioning to avoid blind spots caused by camera obstructions.
- Check for lighting inconsistencies that could create shadows or highlights from specific viewpoints.
- Evaluate background elements to ensure they complement the subject from all angles.
camera setup testing kit
As an affiliate, we earn on qualifying purchases.
As an affiliate, we earn on qualifying purchases.
Simple Ways to Minimize or Eliminate Camera Blind Spots
To effectively minimize or eliminate camera blind spots, you should start by strategically positioning your cameras to cover the most critical areas. Adjust camera angles to reduce gaps, and consider overlapping fields of view for seamless coverage. Use camera lens coatings that minimize glare and reflections, which can create hidden blind spots or distort images. Keep an eye on shutter speed settings; a faster shutter speed can help freeze motion and reduce blurring, ensuring clear footage even in challenging lighting. Regularly test your setup from different viewpoints to identify potential blind spots, then refine positioning accordingly. Incorporating proper lighting can also enhance camera visibility and reduce shadowed blind spots. Additionally, understanding camera specifications can help you choose the right equipment for your needs. For example, selecting cameras with adjustable field of view allows you to tailor coverage areas precisely. Ensuring your camera system is compatible with filtration options can further improve image clarity and reduce distortions caused by glare or reflections. Considering the use of electric bikes for surveillance patrols can also increase coverage flexibility in larger areas. Combining thoughtful placement with optimized camera settings helps guarantee thorough coverage, reducing blind spots and improving the overall effectiveness of your camera system.
Key Equipment to Cover Blind Spots in Your Shots
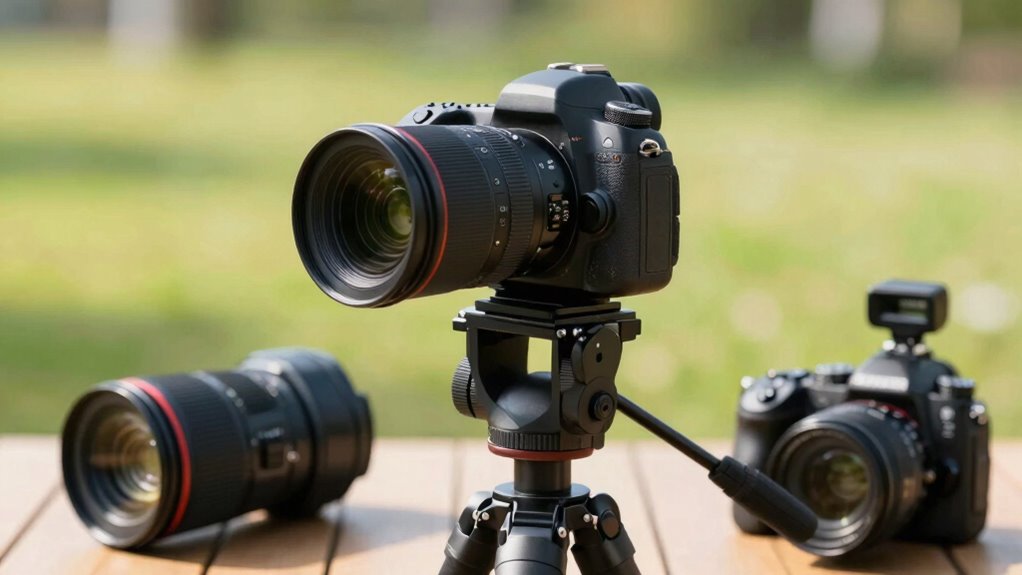
Using the right equipment is essential for effectively covering blind spots in your shots. Camera accessories and lens filters can help you achieve thorough coverage and avoid missed angles. Here are four key pieces of gear:
- Wide-angle lenses — Expand your field of view to capture more of the scene and reduce blind spots.
- Mirror kits — Use mirrors strategically placed to reflect areas you can’t directly see, filling in blind spots.
- Lens filters — Protect your lenses and improve clarity, especially when shooting in challenging lighting conditions.
- Additional camera mounts — Attach cameras or GoPros to angles or heights you can’t reach easily, ensuring full coverage. Incorporating visual perspective techniques can also help identify and minimize blind spots during setup. Furthermore, analyzing your shot setup with camera positioning principles can enhance coverage and prevent overlooked areas.
These tools work together to eliminate blind spots, giving you complete control over your shot composition. Incorporating art and culture—such as using natural light and mindful positioning—can also enhance your overall setup.
Troubleshooting Persistent Blind Spots During a Shoot

Even with the right equipment in place, persistent blind spots can still occur during a shoot, often due to overlooked angles or equipment limitations. To troubleshoot, start by adjusting your camera ergonomics—reposition yourself to view from different angles, ensuring no area is overlooked. Check your lens coatings; smudges or reflections can create false blind spots or distort visibility, so clean your lenses thoroughly. Use mirrors or monitor angles that provide better views of tricky spots. Consider adding external monitors or live feeds to get a clearer perspective. Small adjustments in positioning and equipment setup often reveal hidden blind spots. Additionally, active analysis of your shot angles and maintaining ideal lens coatings can help identify potential blind spots early on. Incorporating creative storytelling techniques can also help anticipate potential blind spots by visualizing the overall narrative and shot flow. Regularly reviewing your footage and lighting conditions can further assist in revealing areas that may otherwise be missed. Paying attention to equipment limitations and how they impact your coverage can help prevent blind spots before they become problematic.
Review Photos to Catch and Correct Blind Spot Oversights
Have you ever finished a shoot only to discover overlooked blind spots in your footage? Reviewing your photos is essential for catching these oversights. Use your review process to evaluate your shots with a keen eye for creative composition, ensuring every frame aligns with your vision. Focus on areas that may have been missed during filming, especially those that could be corrected with simple post processing techniques. To deepen your understanding, consider:
- Analyzing angles for hidden details
- Comparing shots for consistency
- Identifying areas needing cropping or adjustment
- Planning reshoots if necessary
Frequently Asked Questions
Can Blind Spots Affect Video Footage as Well as Photos?
Yes, blind spots can affect both video footage and photos. When your camera’s sensor calibration isn’t perfect or if lens distortion occurs, certain areas may appear blurry or miss details. These blind spots can cause vital information to be overlooked, especially in dynamic scenes. Regularly calibrate your sensor and check for lens distortion to minimize blind spots, ensuring your footage remains sharp, clear, and thorough.
Are There Specific Camera Brands Better at Minimizing Blind Spots?
Some camera brands excel at minimizing blind spots through advanced features. You’ll find that brands like Canon and Sony invest heavily in lens distortion correction and sensor calibration, ensuring sharper images and fewer blind spots. These cameras actively adjust for distortions, providing a clearer, more accurate view. As you choose, focus on models with sophisticated sensor calibration and lens correction technology, so you capture every detail without missing essential elements.
How Do Lighting Conditions Influence Blind Spot Visibility?
Lighting conditions greatly influence your camera’s blind spot visibility. High contrast lighting, with bright highlights and deep shadows, can create shadow interplay that obscures certain areas, making blind spots more noticeable. Conversely, even lighting reduces shadow play, helping your camera capture more details in tricky spots. To minimize blind spots, shoot in diffused light or adjust your camera settings to balance exposure, ensuring shadows don’t hide critical details.
Can Post-Processing Fix Issues Caused by Blind Spots?
Post-processing can’t fully fix issues caused by blind spots, as sensor calibration and lens distortion affect the raw data. If your camera’s sensor isn’t properly calibrated, or if lens distortion skews your images, no amount of editing can recover lost details in those blind spots. To improve results, make certain your camera is well-calibrated and use lens correction tools during editing to minimize distortion. This helps capture more accurate images in the first place.
What Are the Best Practices for Training New Photographers to Avoid Blind Spots?
You should prioritize teaching new photographers strong composition techniques and emphasize subject awareness. Encourage them to scan their scene thoroughly, checking for elements that might create blind spots. Practice framing shots from different angles, and use tools like mirrors or assistants to spot hidden areas. Regularly review images together, highlighting overlooked details. This approach helps build their instinct for detecting blind spots, ensuring more all-encompassing, engaging photos.
Conclusion
When you master spotting blind spots early, your shots become clearer and more compelling. Think of your camera as a lighthouse illuminating every corner, avoiding shadows that hide your story. Without attention, those dark patches can ruin an otherwise perfect scene, like a cloud obscuring the sun. Stay vigilant, review your images, and adjust your setup. With every shot, you’re sharpening your vision—transforming potential blind spots into a well-lit masterpiece.